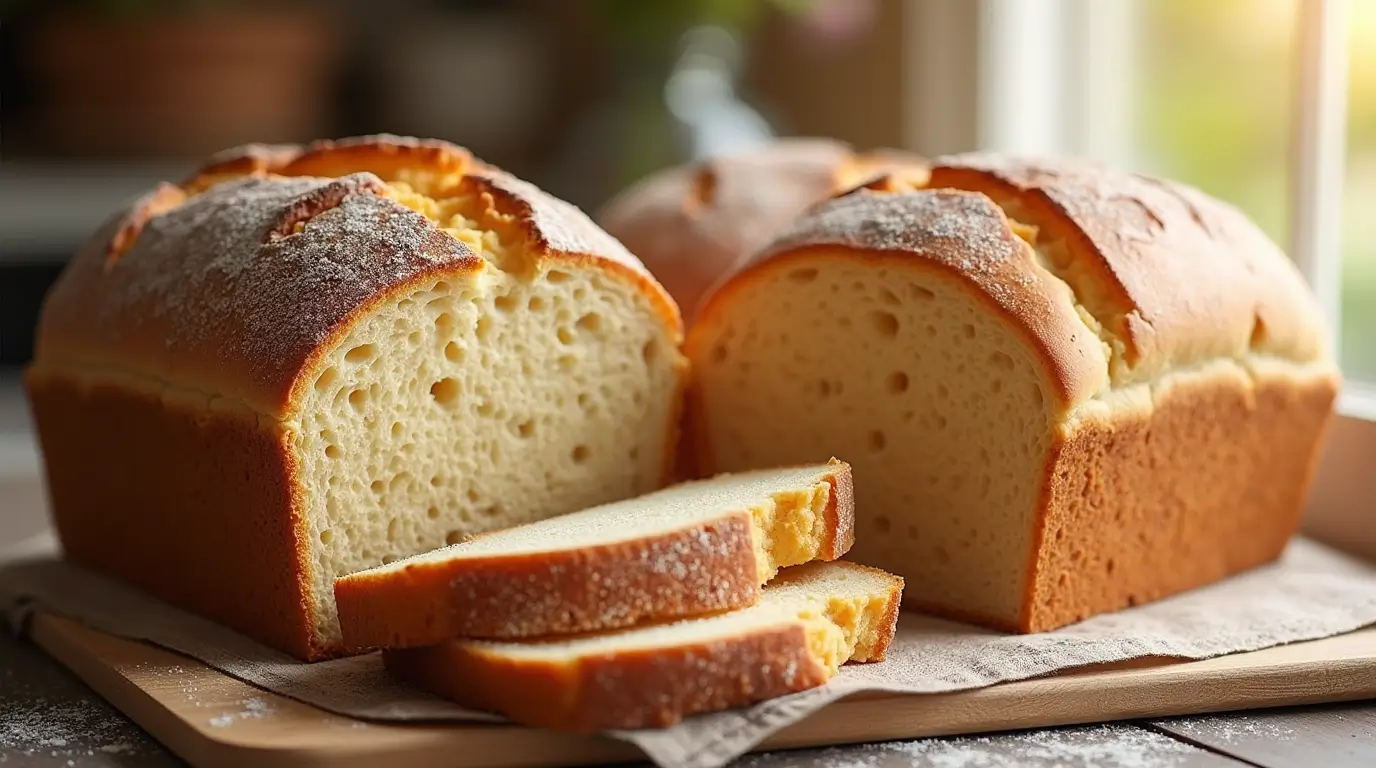
Are you tired of store-bought gluten-free bread that’s dry, crumbly, or just doesn’t hit the mark? You’re not alone! Perfecting gluten-free bread at home can feel like a challenge, but with the right recipe and a few expert tips, you can bake a loaf that’s soft, fluffy, and delicious.
In this post, we’re sharing The Best Gluten-Free Bread Recipe, a no-fail guide that guarantees perfect homemade loaves every time. Whether you’re new to gluten-free baking or a seasoned pro, this recipe is designed to be easy, approachable, and packed with flavor. Plus, we’ll walk you through essential tips to avoid common pitfalls, like dense or crumbly textures, so you can enjoy bread that’s just as good (if not better!) as the traditional kind.
Say goodbye to disappointing gluten-free bread and hello to a loaf that’s perfect for sandwiches, toast, or simply enjoying on its own. Let’s get baking!
Ready to take your gluten-free baking to the next level? Check out our comprehensive guide, Bake Your Best: The Ultimate Gluten-Free Bread Recipe Guide, for more tips, tricks, and recipes to perfect your loaf!
1: Why Make Gluten-Free Bread at Home?
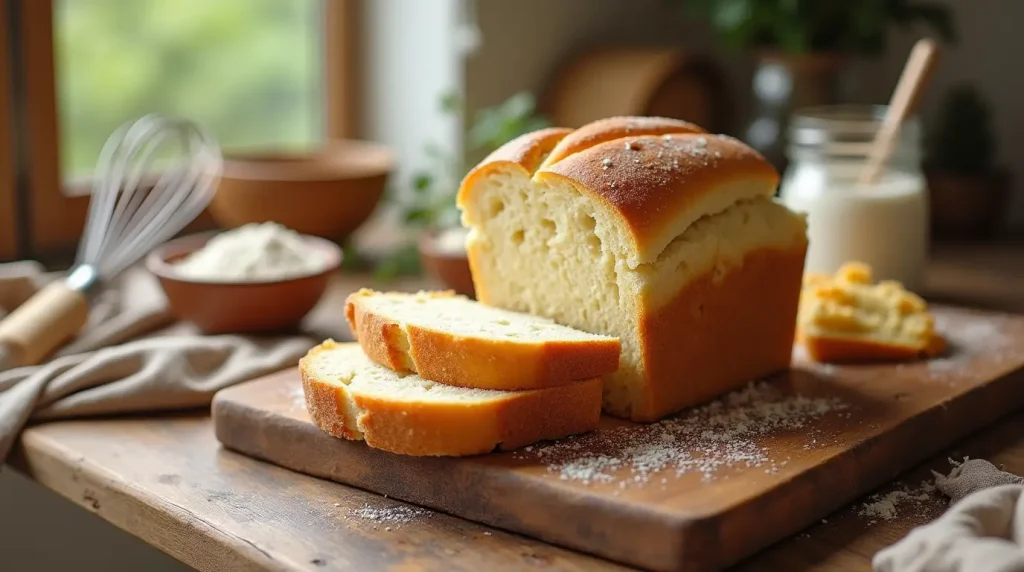
1.1: Health Benefits of Gluten-Free Bread
Gluten-free bread isn’t just for those with celiac disease or gluten intolerance, it’s a great option for anyone looking to explore healthier baking alternatives. By making your gluten-free bread recipe at home, you can control the ingredients, ensuring there are no hidden additives or preservatives. Plus, homemade bread allows you to tailor the recipe to your dietary needs, whether you’re vegan, dairy-free, or simply looking for a low-carb option.
Using wholesome ingredients like almond flour, coconut flour, or psyllium husk, you can create a loaf that’s not only delicious but also packed with nutrients. Say goodbye to store-bought options that often lack flavor and texture, and hello to a healthier, fresher alternative!
1.2: Cost-Effectiveness of Homemade Bread
Let’s face it, store-bought gluten-free bread can be expensive, and the quality doesn’t always justify the price. With this easy gluten-free bread recipe, you can save money while enjoying a superior product. A single batch of homemade bread costs a fraction of what you’d pay at the store, and you’ll get multiple loaves out of one bag of gluten-free flour.
Not only is it budget-friendly, but making your bread also allows you to experiment with different flours and flavors. Whether you prefer a nutty almond flour base or a light and airy rice flour blend, the possibilities are endless. Plus, you’ll never have to worry about running out of bread again!
2: Essential Ingredients for Gluten-Free Bread
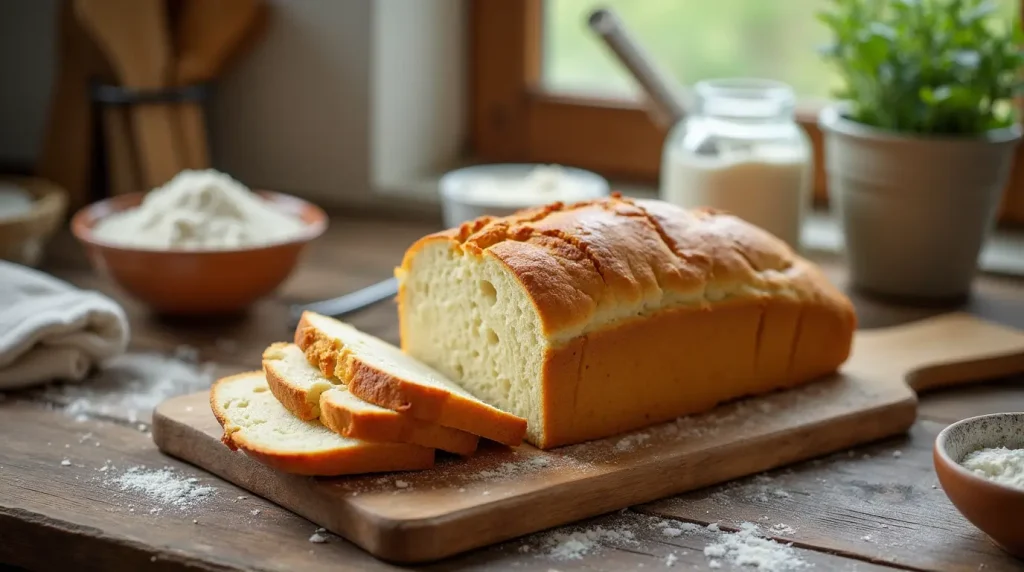
2.1: Best Gluten-Free Flours to Use
The foundation of any great gluten-free bread recipe is the flour blend. Unlike traditional wheat flour, gluten-free flours require a mix to achieve the right texture and flavor. Some of the best options include:
- Almond flour: Adds moisture and a nutty flavor.
- Rice flour: Provides a light, airy texture.
- Tapioca flour: Helps create a chewy, stretchy crumb.
- Coconut flour: A high-fiber option that’s perfect for low-carb diets.
Brands like Bob’s Red Mill and King Arthur Flour offers pre-mixed gluten-free flour blends, which can save time and ensure consistent results. Experiment with different combinations to find your perfect mix!
2.2: Binding Agents and Their Role
One of the biggest challenges in gluten-free baking is replicating the elasticity that gluten provides. That’s where binding agents come in. Ingredients like xanthan gum, psyllium husk, or even eggs are essential for holding your bread together and preventing a crumbly texture.
- Xanthan gum: A small amount goes a long way in creating a soft, cohesive dough.
- Psyllium husk: Adds fiber and helps mimic the stretchiness of gluten.
- Eggs: Perfect for adding structure and moisture (use flax eggs for a vegan option).
These binding agents are the secret to achieving that perfect loaf of homemade gluten-free bread, soft, fluffy, and sliceable!
3: Step-by-Step Gluten-Free Bread Recipe
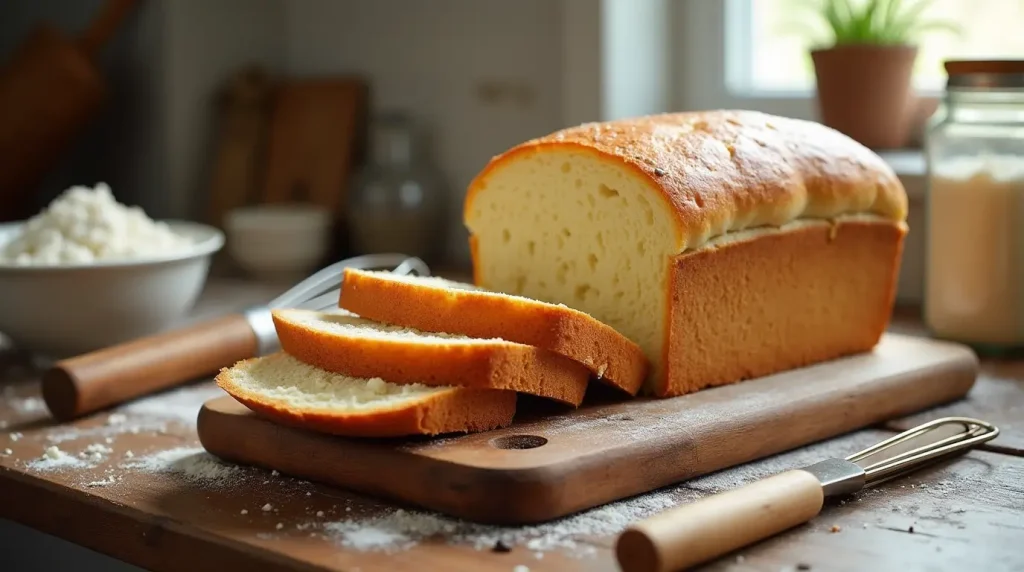
3.1: Preparing the Dough
Creating the perfect dough for your gluten-free bread recipe is easier than you think. Start by gathering your ingredients: gluten-free flour blend, binding agents, yeast, and a touch of sweetener to activate the yeast. Combine them in a stand mixer or by hand, mixing until the dough is smooth and slightly sticky.
Pro tip: Let the dough rest for 10-15 minutes before baking. This allows the flour to absorb the moisture, resulting in a better texture.
3.2: Baking the Perfect Loaf
Preheat your oven to 375°F (190°C) and prepare a loaf pan with parchment paper or a light coating of oil. Transfer the dough to the pan, smooth the top, and let it rise for about 30 minutes. Once the dough has doubled in size, bake it for 40-45 minutes, or until the crust is golden brown and the bread sounds hollow when tapped.
For an extra-soft crust, brush the top with melted butter or olive oil as soon as it comes out of the oven. Let it cool completely before slicing to avoid a gummy texture.
4: No-Fail Tips for Perfect Gluten-Free Bread
4.1: How to Avoid Common Mistakes
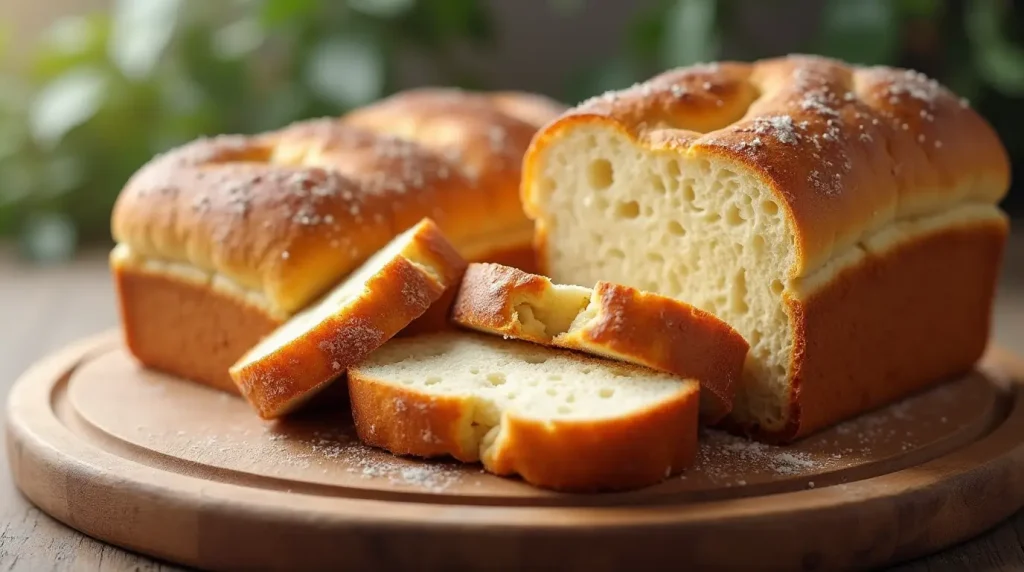
Even with the best gluten-free bread recipe, a few missteps can lead to less-than-perfect results. Here’s how to avoid them:
- Measure accurately: Use a kitchen scale for precise measurements, especially with gluten-free flour.
- Don’t skip the binding agent: Xanthan gum or psyllium husk is crucial for structure.
- Let it cool: Resist the urge to slice your bread right away, it needs time to set!
4.2: Storing and Freezing Gluten-Free Bread
Gluten-free bread tends to dry out faster than traditional bread, so proper storage is key. Keep your loaf in an airtight container at room temperature for up to 3 days, or slice and freeze it for longer storage. To enjoy, simply toast the frozen slices straight from the freezer, they’ll taste just as fresh as the day you baked them!
Storing Gluten-Free Bread
- Room Temperature: Keep in an airtight container or bag for 2-3 days.
- Refrigerator: Wrap tightly in plastic wrap or foil for 5-7 days.
Freezing Gluten-Free Bread
- Whole Loaf: Wrap tightly in plastic wrap, then place in a freezer-safe bag for up to 2-3 months.
- Sliced Bread: Separate slices with parchment paper and store in a freezer-safe bag for 2-3 months.
Thawing and Reheating
- Thaw: Let sit at room temperature for 1-2 hours or toast frozen slices directly.
- Reheat: Warm in the oven at 350°F (175°C) for 10-15 minutes or toast for a crispy texture.
5: Serving and Enjoying Your Gluten-Free Bread
5.1: Creative Ways to Serve Gluten-Free Bread
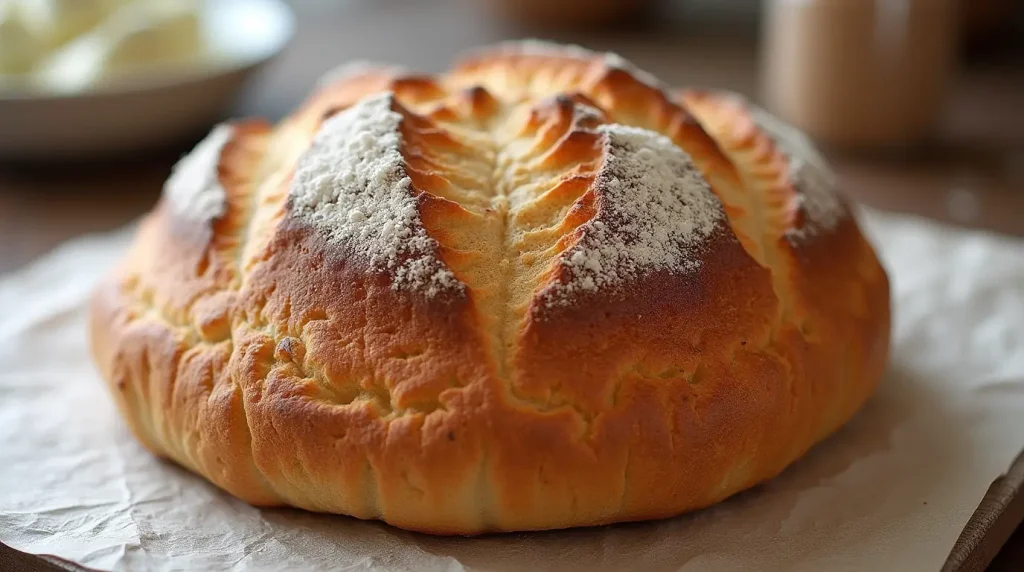
Your homemade gluten-free bread is incredibly versatile. Use it for sandwiches, toast it for breakfast with avocado or nut butter, or even turn it into croutons for salads. The soft, fluffy texture makes it perfect for any meal!
5.2: Pairing Ideas for Gluten-Free Bread
Pair your bread with soups, stews, or dips for a satisfying meal. It also pairs beautifully with sweet toppings like honey, jam, or chocolate spread. The possibilities are endless!
Baking the perfect loaf of gluten-free bread doesn’t have to be a daunting task. With this no-fail gluten-free bread recipe and the tips we’ve shared, you’re well-equipped to create a loaf that’s soft, fluffy, and delicious. Whether you’re new to gluten-free baking or a seasoned pro, this recipe is designed to make the process easy, enjoyable, and rewarding.
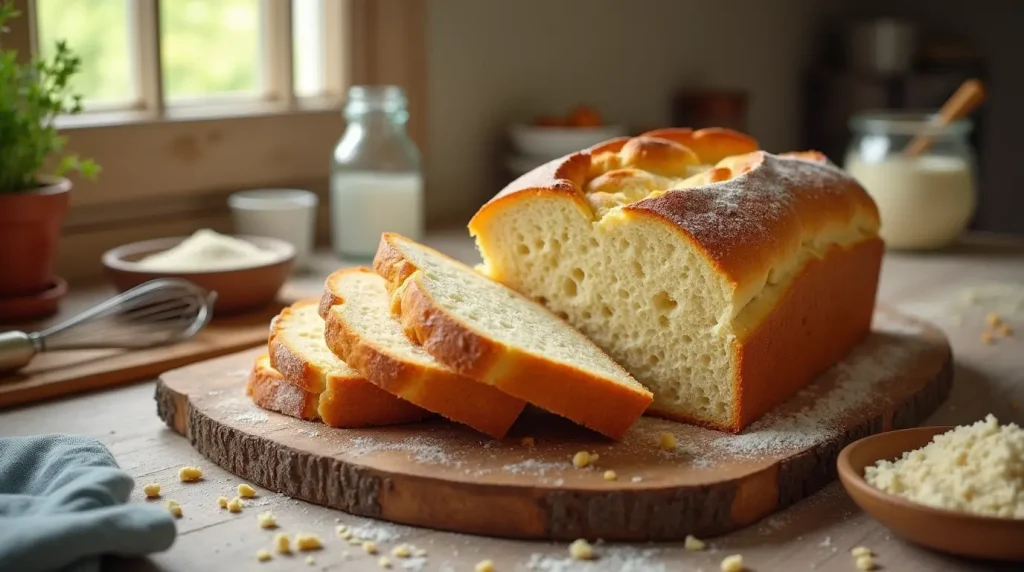
By making your homemade gluten-free bread, you’re not only saving money but also taking control of the ingredients to ensure a healthier, tastier option for you and your family. Plus, the satisfaction of pulling a fresh, golden loaf out of the oven is unbeatable!
So, what are you waiting for? Grab your ingredients, preheat your oven, and give this recipe a try. We’d love to hear how it turns out, share your results in the comments below or tag us on social media with your creations. Happy baking!
Curious about the science behind gluten-free baking? Learn more about the benefits and techniques of making gluten-free bread from this expert guide!
FAQs
1. Can I make this gluten-free bread recipe without xanthan gum?
Yes, you can! If you don’t have xanthan gum, you can substitute it with psyllium husk or chia seeds. These alternatives work as binding agents to help give your bread structure and prevent it from crumbling. Use 1 tablespoon of psyllium husk or 2 tablespoons of ground chia seeds as a replacement for 1 teaspoon of xanthan gum.
2. What’s the best flour blend for gluten-free bread?
The best flour blend depends on your preferences, but a mix of rice flour, tapioca flour, and almond flour works well for a light and fluffy texture. You can also use a pre-mixed gluten-free flour blend from brands like Bob’s Red Mill or King Arthur Flour for convenience. Experiment to find the combination you love most!
3. Why is my gluten-free bread dense or gummy?
Dense or gummy bread is often caused by overmixing the dough or not letting it rest before baking. Gluten-free flours need time to absorb moisture, so let the dough rest for at least 10-15 minutes before baking. Also, avoid overloading the recipe with wet ingredients, as this can lead to a gummy texture.
4. Can I make this recipe vegan?
Absolutely! To make this gluten-free bread recipe vegan, replace the eggs with a flax egg (1 tablespoon ground flaxseed + 3 tablespoons water per egg) or a commercial egg replacer. Ensure your binding agent (like xanthan gum or psyllium husk) is also vegan-friendly.
5. How do I store gluten-free bread to keep it fresh?
Gluten-free bread tends to dry out faster than traditional bread, so proper storage is key. Keep it in an airtight container at room temperature for up to 3 days. For longer storage, slice the bread and freeze it in a zip-top bag. When ready to eat, simply toast the frozen slices straight from the freezer, they’ll taste fresh and delicious!
Did You Try Our Recipe?
There are no reviews yet. Be the first one to write one.

