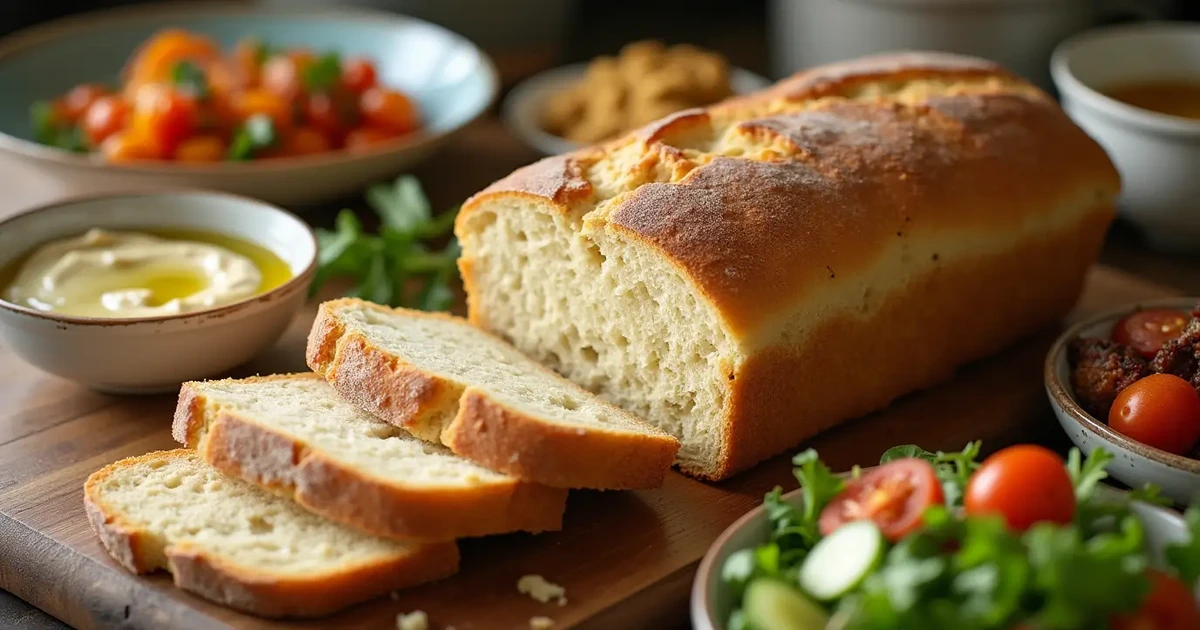
If you’ve ever wondered how to create a truly satisfying loaf of gluten-free bread, you’re not alone. The quest for bread that’s both soft and flavorful can seem daunting when gluten is off the table. But rest assured, this guide will take you step by step into the world of gluten-free baking, where delicious, homemade bread is no longer a dream but an achievable reality.
Whether you’re managing celiac disease, gluten sensitivity, or simply exploring healthier eating habits, baking your own bread allows for full control over ingredients and flavors. Not only will you save money compared to store-bought options, but you’ll also create something that tastes fresher and more personalized.
Why You Should Bake Gluten-Free Bread
Switching to gluten-free bread is more than just a dietary choice for many it’s a necessity. Here are a few reasons why making your own gluten-free bread is worth the effort:
1. Health Benefits
For people with gluten intolerance or celiac disease, avoiding gluten is necessary to maintain good health. Gluten can trigger inflammation, digestive discomfort, and more severe symptoms in sensitive individuals. Homemade bread ensures that every ingredient supports your well-being.
2. Control Over Ingredients
Commercial gluten-free bread often contains preservatives, excess sodium, or unnecessary fillers. When you bake your own, you decide what goes in allowing for cleaner, healthier eating.
3. Better Taste and Texture
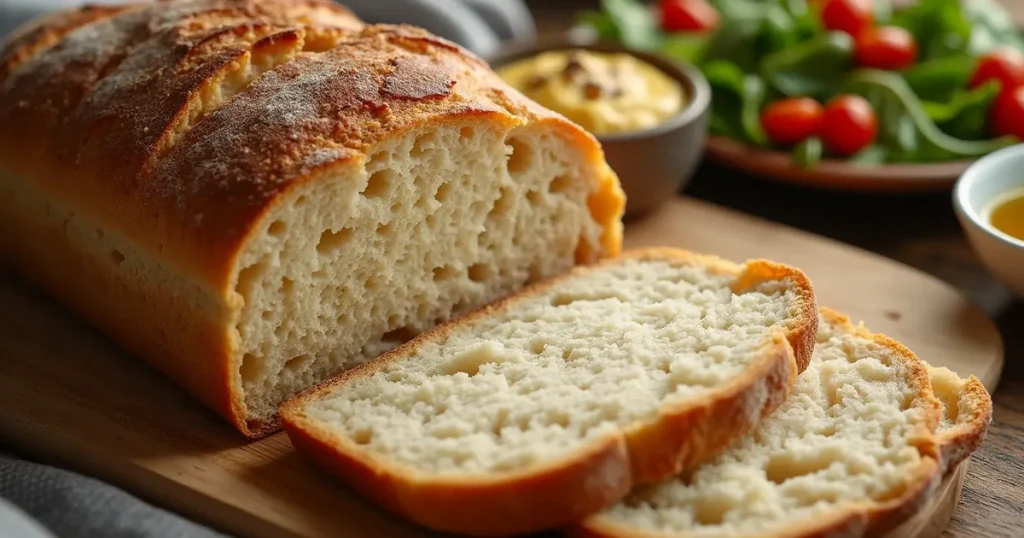
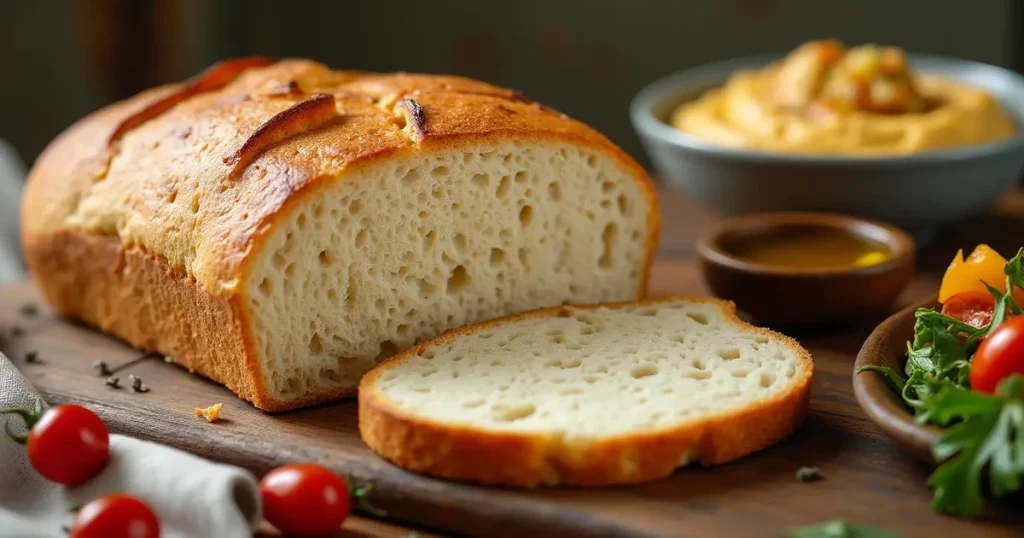
One of the biggest complaints about store-bought gluten-free bread is its dry or gummy texture. By learning to bake at home, you can enjoy bread with a soft crumb, crispy crust, and delicious flavor.
For a more in-depth look at gluten-free ingredients and their benefits, visit Bob’s Red Mill’s guide to gluten-free flours.
Understanding the Role of Ingredients in Gluten-Free Baking
Gluten-free baking is a unique process that requires a careful balance of ingredients. Unlike traditional bread, gluten-free recipes rely on a combination of flours, binders, and liquids to achieve the right texture.
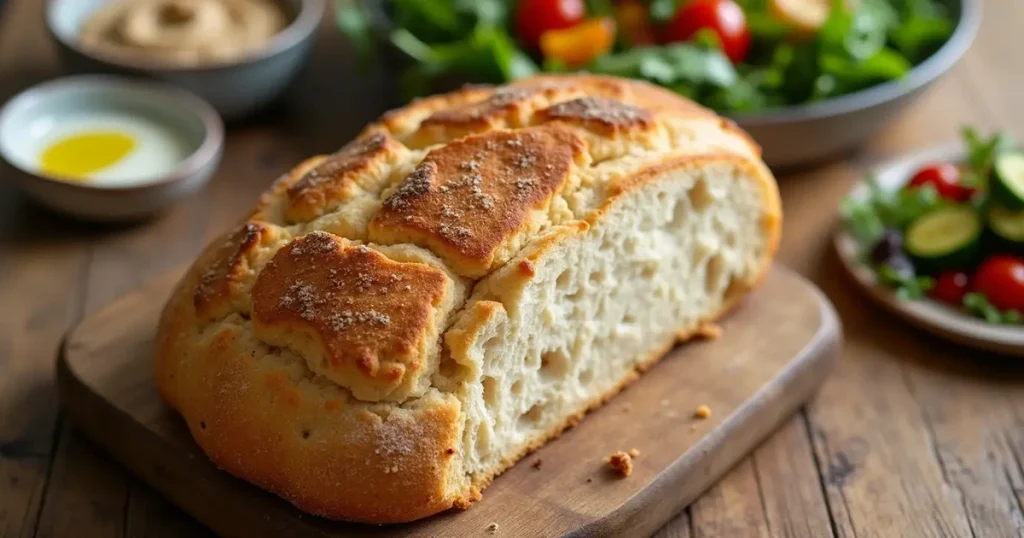
1. The Flour Blend
A high-quality gluten-free flour blend is essential for success. These blends typically include:
- Rice Flour: Light and versatile, it forms the base of most gluten-free blends.
- Tapioca Starch or Potato Starch: These starches add structure and chewiness.
- Sorghum or Millet Flour: These bring flavor complexity and nutrition to the mix.
If you’re just starting out, using a pre-made blend from brands like Bob’s Red Mill or King Arthur Baking can save you time and guesswork.
2. Binders for Structure
Without gluten to hold things together, binders like psyllium husk, xanthan gum, or guar gum become essential. These ingredients mimic gluten’s elasticity, helping your bread rise and maintain its shape.
- Psyllium Husk: Adds moisture and elasticity while improving texture.
- Xanthan Gum: Creates a stretchable dough, perfect for bread and pastries.
3. Yeast for Rise
Active dry yeast plays a crucial role in gluten-free bread recipes, ensuring a light, airy texture. Make sure your yeast is fresh and properly activated before adding it to the dough.
The Ultimate Step-by-Step Gluten-Free Bread Recipe
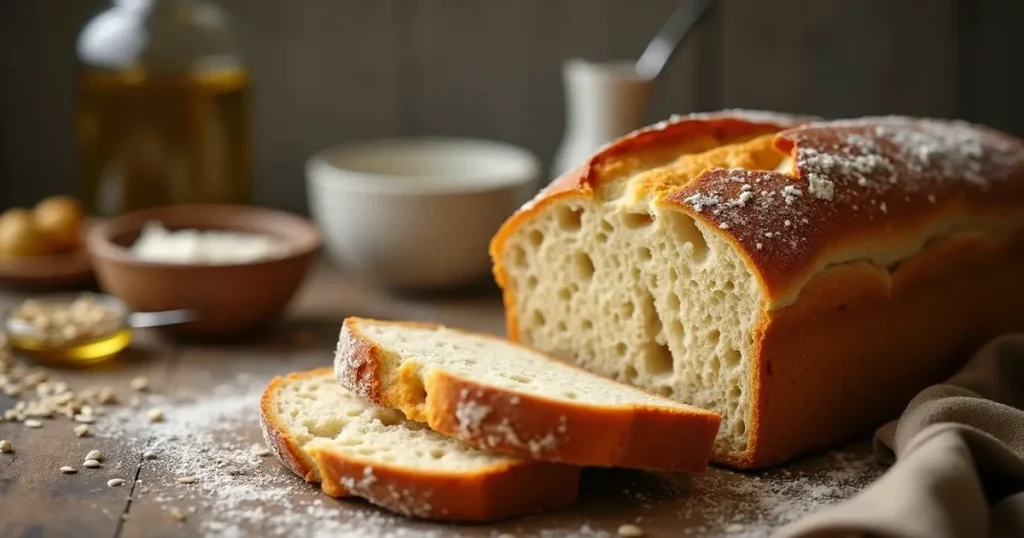
Ready to bake? Here is a foolproof recipe that even beginners can make it.
Ingredients
| Ingredient | Amount | Notes |
|---|---|---|
| Gluten-free flour blend | 2 ½ cups | Pre-made or custom blend |
| Warm water | 1 cup | About 110°F for yeast activation |
| Active dry yeast | 2 ¼ teaspoons | Check expiration date |
| Psyllium husk | 1 tablespoon | Optional, for added structure |
| Eggs | 2 large | Room temperature preferred |
| Olive oil or butter | 2 tablespoons | Adds richness |
| Sugar | 1 tablespoon | Feeds the yeast |
| Salt | 1 teaspoon | Enhances flavor |
Instructions
- Activate the Yeast
- Mix warm water, sugar and yeast in a small bowl, stir gently and leave for 5 to 10 minutes until foamy. This step ensures the yeast is active.
- Prepare the Dry Ingredients
- In a large mixing bowl, combine the gluten-free flour blend, psyllium husk (if using), and salt. Mix well to ensure even distribution.
- Mix the Wet Ingredients
- Beat the eggs in a medium bowl, then whisk in olive oil or melted butter. Once combined, add the yeast mixture and stir until fully blended.
- Combine Wet and Dry Ingredients
- Gradually add wet mixture to dry ingredients. Use a wooden spoon or a stand mixer with a paddle attachment to create a thick, sticky dough. Gluten-free bread dough will be wetter than traditional bread dough this is normal.
- First Rise
- Transfer the dough to a greased bowl. Cover it with a clean towel and place it in a warm, draft-free place.
- Shape the Dough
- Grease a baking sheet with a butter or oil. Transfer the dough into the prepared pan, smoothing it out with a spatula to ensure an even layer. Let the dough rise again for 20–30 minutes, allowing it to reach the top of the pan. This secondary rise is crucial to achieving a light, airy texture.
- Bake the Bread
- Preheat your oven to 350°F (175°C). Once the dough has finished rising, place the pan in the oven and bake for 40–50 minutes. The bread should be golden on top and hollow when tapped on the bottom. If it’s still too soft in the center, continue baking for an additional 10-15 minutes, checking regularly to avoid over-baking.
- Cool the Bread
- After baking, remove the bread from the oven and let it cool in the pan for 5 to 10 minutes. Next, transfer the loaf to a wire rack to cool completely before cutting it. Gluten-free bread often slices best once fully cooled, as it can be a bit crumbly when warm.
Troubleshooting Common Gluten-Free Bread Issues
Even with the right recipe, there are a few common hurdles in gluten-free baking. Don’t worry, most problems can be solved easily! Here’s how to tackle them:
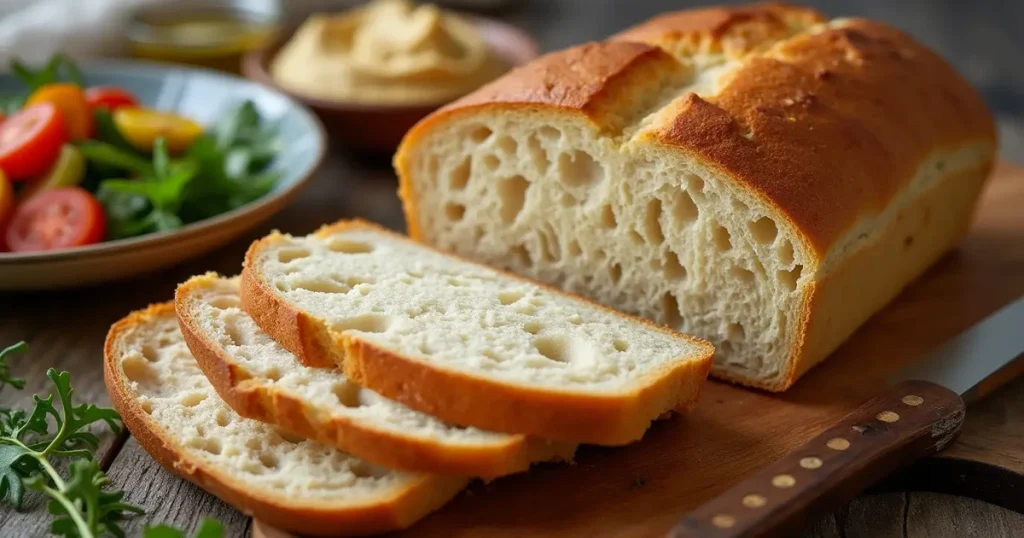
1. Dense or Heavy Bread
- This may happen if the dough does not rise enough. Make sure you use fresh yeast and give the dough enough time to rise. If necessary, add more psyllium husk to the dough to help with structure.
2. Gummy or Raw Center
- A gummy center is often a result of underbaking. Make sure the oven is preheated to the correct temperature. You can also check the internal temperature of the bread with a food thermometer; the bread should reach 200°F (93°C) when done.
3. Crumbly Texture
- Gluten-free bread can sometimes be too crumbly if there isn’t enough moisture or binder. Adding an extra egg or an additional tablespoon of psyllium husk can help improve texture.
4. Flat Bread
- If your loaf is flatter than expected, it could be due to over-proofing the dough. Always be mindful of proofing times and ensure you don’t let the dough rise too much. Additionally, check your yeast’s expiration date to ensure it’s still active.
How to Store Your Gluten-Free Bread and Keep It Fresh
Once your bread is baked and cooled, proper storage is essential to keeping it fresh and tasty. Here are some
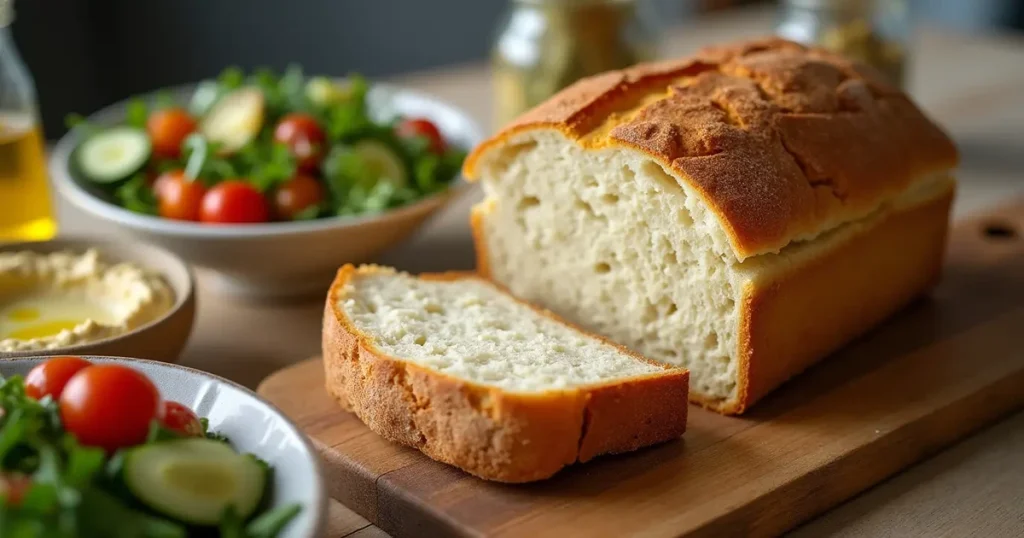
Storing Gluten-Free Bread for Maximum Freshness
Properly storing your gluten-free bread ensures it stays fresh and enjoyable for longer. Here’s how to keep your homemade loaf at its best:
1. Room Temperature Storage
- Gluten-free bread typically stays fresh for 2–3 days when stored at room temperature. Keep it in an airtight container, a bread box, or a resealable plastic bag to protect it from drying out. If you notice the bread becoming a little stale, simply toast it to refresh the texture.
2. Freezing for Long-Term Storage
- To extend the shelf life, freezing your bread is an excellent option. Cut the loaf into slices before freezing it so you can take out only the amount you need. Wrap the slices in plastic wrap or foil, then place them in a freezer-safe bag. Frozen slices can last up to 1 month. When ready to use, toast them directly from the freezer, or allow them to thaw at room temperature.
3. Reheating and Refreshing
- To revive stale bread, you can reheat it in the oven at 350°F (175°C) for 10 to 15 minutes. Cover it with aluminum foil to prevent it from drying out, then remove the foil to allow the crust to crisp.
Variations on the Classic Gluten-Free Bread Recipe
One of the best things about baking your own gluten-free bread is the ability to customize the recipe to suit your preferences. Below are some ideas for adding variety to your loaves:
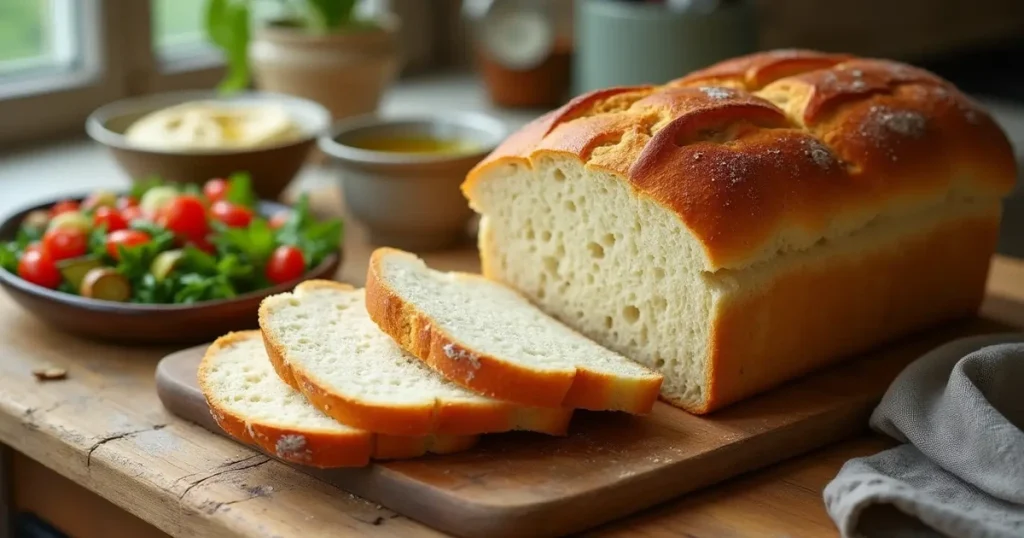
1. Herb and Garlic Bread
Add fresh or dried herbs (like rosemary or thyme) to the dough for an aromatic loaf. You can also mix in garlic powder or roasted garlic to create a savory twist on the traditional recipe.
2. Cinnamon Raisin Bread
For a sweet variation, fold in cinnamon and raisins to your dough. You can add a swirl of cinnamon sugar in the middle of the loaf before baking for a delightful flavor.
3. Seeded Gluten-Free Bread
Boost the nutritional value of your bread by incorporating sunflower seeds, chia seeds, or flaxseeds. These add texture, flavor, and healthy fats to your bread.
4. Chocolate Chip Gluten-Free Bread
If you’re in the mood for a treat, you can add gluten-free chocolate chips to the dough. This creates a dessert-like bread that’s perfect for breakfast or as a snack.
Nutritional Benefits of Gluten-Free Bread
When gluten-free bread is made with whole grains and healthy fats, it can be an excellent addition to your diet. While traditional bread tends to be high in refined carbs, homemade gluten-free bread offers some key advantages:
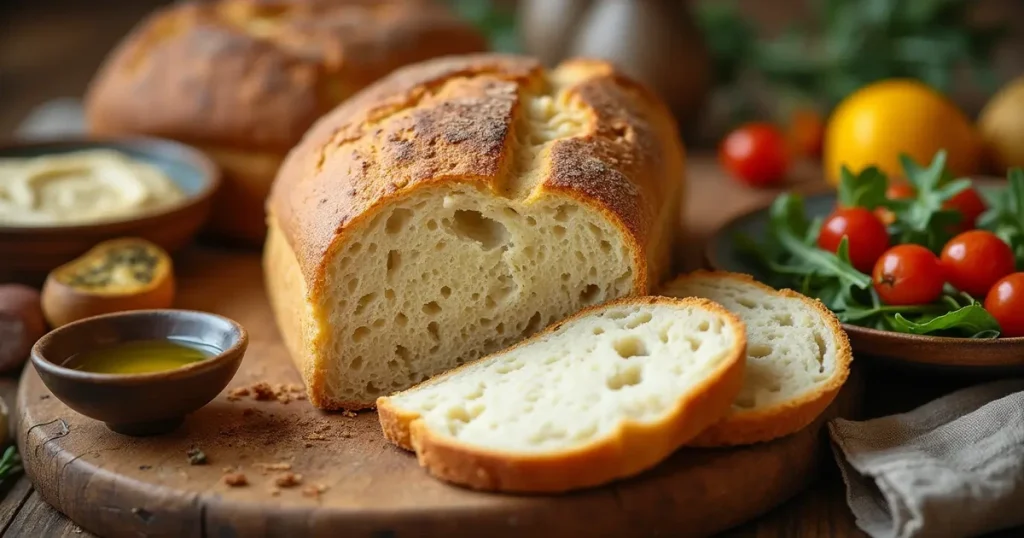
1. High in Fiber
Many gluten-free flours, such as almond flour and coconut flour, are rich in fiber, which can help improve digestion and promote a feeling of fullness.
2. Rich in Healthy Fats
Ingredients like olive oil, flaxseeds, and chia seeds provide healthy fats that can support heart health.
3. Customizable to Dietary Needs
Whether you need dairy-free, nut-free, or low-carb bread, gluten-free baking offers the flexibility to meet specific dietary requirements. You can experiment with ingredients like almond milk, coconut oil, or egg replacements to create a loaf that suits your needs.
For more information on gluten-free ingredients and how they can benefit your health, visit this gluten-free nutrition guide.
Advanced Gluten-Free Baking Techniques
Once you’ve mastered the basic gluten-free bread recipe, you might want to challenge yourself with some advanced techniques to improve texture and flavor. Here are a few tips for experienced bakers:
1. Pre-fermenting the Dough
Pre-fermenting or creating a starter dough helps develop the flavor and texture of gluten-free bread. Mix a portion of your flour, water, and yeast and let it sit overnight. This process allows the dough to ferment, which enhances the depth of flavor and improves the loaf’s texture.
2. Using a Bread Machine
If you’re short on time or prefer a hands-off approach, a bread machine can help streamline the baking process. Simply add your ingredients to the machine and let it knead and bake the bread for you. Just ensure your bread machine is set to the “gluten-free” setting, as the dough requires different handling.
3. Steam in the Oven
For an artisanal crust, try adding steam during the first 10 minutes of baking. This mimics the process used in professional bakeries to create a golden, crisp exterior. Here’s how to do it:
- Preheat your oven with a cast iron pan or baking sheet on the bottom rack.
- Once the bread is in the oven, pour hot water into the pan to create steam.
- Quickly close the oven door and let the steam do its magic. The moisture in the air prevents the bread’s crust from hardening too quickly, allowing the loaf to expand more fully before the crust sets.
This technique can result in a bakery-quality loaf with a soft, airy crumb and a crunchy, golden-brown crust.
4. Sourdough Gluten-Free Bread
For a more complex flavor, you can try your hand at baking gluten-free sourdough bread. Sourdough relies on a natural fermentation process that involves wild yeast and lactic acid bacteria. To create a gluten-free sourdough starter, use gluten-free flour and water. Over time, the starter will develop a tangy flavor that enhances the bread’s texture and taste.
This is a longer and more involved process, but the reward is a deeply flavorful and tangy gluten-free bread that’s rich in probiotics and easy to digest. For an introduction to making gluten-free sourdough starter, check out this step-by-step guide on gluten-free sourdough baking.
Gluten-Free Bread FAQ Section
Q1: Can I make gluten-free bread without yeast?
Yes, it’s possible to make gluten-free bread without yeast, but it will result in a different texture and flavor. You can try using baking soda or baking powder as leavening agents instead of yeast. These alternatives can work well for quick breads like banana bread or cornbread but may not provide the same rise or texture as yeast-leavened bread.
Q2: Why is my gluten-free bread dry or crumbly?
Dry or crumbly bread may be a sign that the dough is too dry or hasn’t been properly hydrated. Make sure to measure your ingredients carefully, and try adding an extra tablespoon of liquid (water, oil, or an egg) to help bind the dough together. Also, make sure your dough has time to rise fully, as this can also affect the texture.
Q3: Can I use almond flour in my gluten-free bread recipe?
Almond flour can be a great addition to gluten-free bread, but it doesn’t work well as the sole flour in the recipe. It’s dense and doesn’t have the structure needed to hold the bread together. You can substitute part of the flour with almond flour, but it’s best to use a mix of gluten-free flours for the best results.
Q4: How can I prevent my gluten-free bread from being too dense?
To prevent dense bread, make sure to add enough leavening (like yeast or baking soda), and don’t overwork the dough. Be gentle when handling gluten-free dough, as it’s more delicate than traditional bread dough. Additionally, ensure the dough has time to rise in a warm place so it can fully expand before baking.
Q5: Can I make gluten-free bread without eggs?
Yes! If you need an egg-free bread, you can use substitutes such as flax eggs, chia eggs, or aquafaba (the liquid from canned chickpeas). These ingredients will help bind the dough and provide structure in place of eggs.
Gluten-Free Bread Made Easy
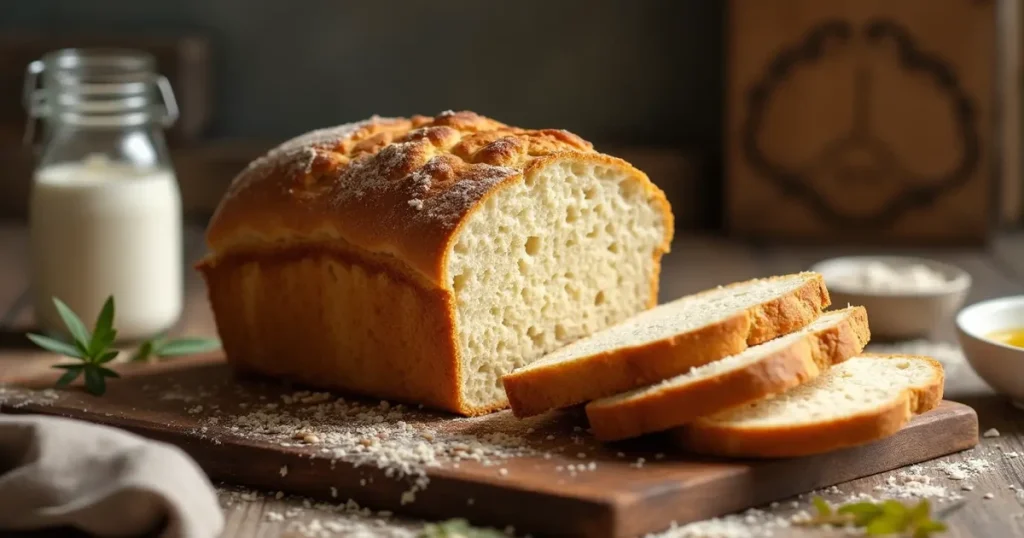
Baking gluten-free bread at home is not only possible but can be incredibly rewarding. With the right ingredients, a little patience, and a few key tips, you can achieve a soft, flavorful loaf that rivals any store-bought version. Whether you’re baking for dietary reasons or simply enjoying the process of homemade bread, the steps provided here will guide you to success.
Don’t be afraid to experiment with variations, flavorings, or even advanced techniques as you grow more comfortable with gluten-free baking. The world of gluten-free bread is vast, and there’s always something new to learn or create.
Ready to get started? Gather your ingredients, set your oven to the right temperature, and prepare to enjoy a delicious loaf of homemade gluten-free bread. And remember, the more you bake, the better your loaves will become!
By exploring these resources, you’ll discover more about the benefits of gluten-free baking, learn about ingredient substitutions, and find additional recipes to try. Happy baking!
Did You Try Our Recipe?
There are no reviews yet. Be the first one to write one.

